
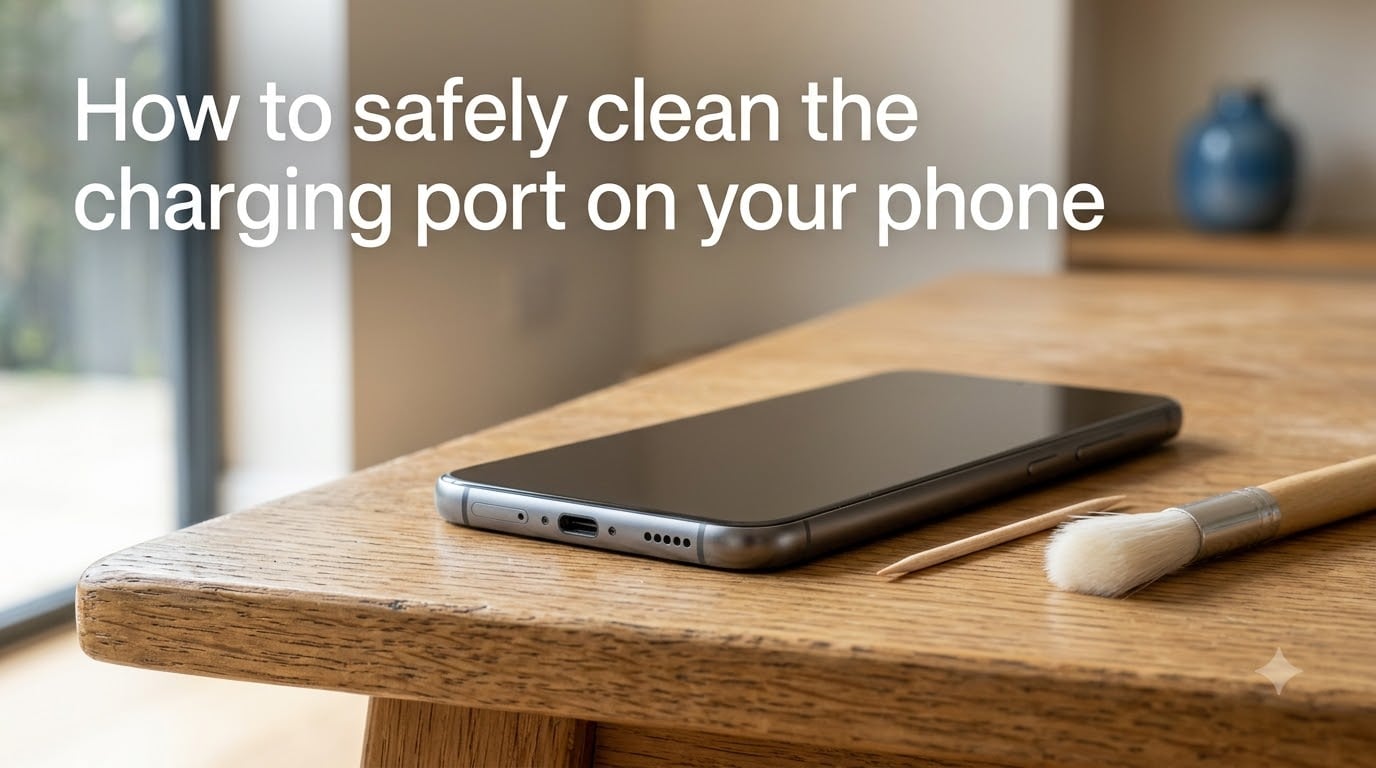
Ever plug in your phone at night and wake up to a dead battery? The culprit is usually hiding right inside the charging port itself. Pocket lint, dust, sand, and debris pack themselves tightly into that tiny opening every time your phone lives in a pocket or bag. Over time this buildup blocks the connector pins from making solid contact with your cable.
Learning how to safely clean the charging port on your phone can save you from a frustrating chain of slow charging, loose connections, and that dreaded “moisture detected” warning. I have cleaned dozens of phone ports over the years using nothing more than a wooden toothpick and a few household items, and the results are consistently dramatic.
This guide walks you through the entire process from diagnosis to cleaning to prevention. You will learn exactly which tools are safe, which ones to avoid at all costs, and how to handle special situations like water damage and metal dust from a workshop. Let us get your phone charging like new again.
Table of Contents
Signs Your Charging Port Needs Cleaning
Your phone will usually tell you when the charging port is in trouble, long before it stops working completely. Catching these signs early makes the cleaning process far easier and prevents damage to the connector pins.
The most common warning signs include a charging cable that wiggles or falls out easily, charging that only works when you hold the cable at a specific angle, and significantly slower charging speeds than you used to get. You might also see a “moisture detected” or “liquid debris in charging port” message even though your phone never got wet, because compacted lint can trigger those sensors.
Shine a flashlight into the port and look closely. If you see a packed layer of fuzzy material at the bottom, that is the lint and dust causing your problems. The debris acts like a cushion that prevents the cable pins from seating properly against the phone contacts.
Tools You Will Need (and What to Avoid)
Using the right tool is the single most important part of this process. The wrong object can permanently damage the tiny pins inside the port, and a repair or full port replacement costs far more than a moment of patience with the right equipment.
Safe Tools to Use
These are the items I recommend based on years of use and what repair technicians consistently advise:
Wooden toothpick — the gold standard. Wood is soft enough that it will not scratch the pins, and the pointed end reaches deep into the port to hook compacted lint.
Plastic floss pick — the flat plastic tip of a floss pick works incredibly well for scraping packed debris out of tight corners.
Soft-bristled brush — a clean, dry toothbrush or a small painting brush dislodges loose particles from the edges of the port.
Cotton swab with a tiny amount of 91% isopropyl alcohol — lightly dampened, never dripping, to dissolve grime and help it slide out.
Flashlight or phone light — you cannot clean what you cannot see. Good lighting is essential.
Tools to Never Put in Your Charging Port
These objects cause the most common and most expensive damage I see people do to their phones:
Metal paperclips, safety pins, or needles — metal scratches the gold connector pins and can short-circuit the phone even when powered off. This is the number one way people destroy a charging port.
Compressed air cans — despite being a popular recommendation, the intense blast can force moisture and debris deeper into the phone or damage the internal moisture sensors. Repair technicians repeatedly warn against this.
Sharp plastic or metal dental tools — too rigid and too sharp for delicate electronics.
Liquids of any kind beyond a barely damp swab — pouring alcohol or anything else directly into the port causes liquid damage that can void your warranty.
If you only remember one thing from this section, let it be this: wood and soft plastic only, never metal, and never force anything.
How to Safely Clean the Charging Port on Your Phone: Step by Step
Follow these steps in order and take your time. Rushing is how ports get damaged. The entire process should take about five to ten minutes.
Power off your phone completely. Do not just put it to sleep. A full shutdown eliminates any risk of a short circuit if you accidentally touch the connector pins with a conductive tool.
Shine a flashlight into the port. Look at the depth of the debris so you know how much material you are working with. This also helps you confirm when the port is truly clean later.
Gently scrape the walls of the port with a wooden toothpick. Hook the lint from the sides rather than stabbing straight down. Work in slow, short strokes along each wall, pulling debris toward the opening.
Tape the phone port-down against your palm. This loosens particles you have dislodged and lets gravity help pull them out. Several gentle taps often release a surprising amount of debris.
Repeat scraping and tapping until no more debris appears. Check with your flashlight between rounds. You are done when you can see the metal pins clearly at the bottom of the port.
Optional: lightly brush with a soft-bristled brush. Sweep around the opening to clear any remaining loose dust from the edges.
If grime persists, dampen a cotton swab with 91% isopropyl alcohol. Press the swab against a paper towel first so it is barely moist, then gently wipe the visible walls of the port. Let it dry for at least two minutes before powering on.
Power on and test with your cable. The connection should feel snug and charging should resume at normal speed.
A note on alcohol concentration: I recommend 91% isopropyl alcohol over 70% because the higher percentage evaporates quickly and leaves behind very little moisture. The 70% solution contains more water, which lingers in the port and can cause corrosion over time. Never use rubbing alcohol that contains additives or fragrances.
How to Clean an iPhone (Lightning or USB-C) Charging Port
iPhone charging ports have a shallow design with the connector pins exposed on a strip running down the center. This makes them relatively easy to clean but also easy to damage if you scrape directly across the pin strip.
Approach the Lightning or USB-C port from the sides. Run your toothpick along the left and right walls where lint packs in deepest, then lift debris up and out rather than dragging it across the central pin strip. The shallow depth means you can usually see the bottom of the port clearly with a flashlight, which makes it easy to confirm when you are done.
iPhones from the iPhone 15 onward use USB-C, which has a slightly deeper port with a center tongue. Clean around that tongue carefully and never apply downward pressure on it, because bending the tongue ruins the port permanently.
How to Clean an Android (USB-C) Charging Port
Most modern Android phones use USB-C, which has that center tongue I just mentioned. The tongue carries the connector pads on both sides, so it is the most fragile part of the entire port.
Clean the two channels on either side of the tongue, hooking lint outward toward the phone body. Take extra care not to press the tongue up or down. A bent tongue is the most common reason people end up needing a professional port replacement.
Older Android phones with micro-USB ports have an even more fragile design with pins exposed on a raised strip. If you are cleaning one of these, use the absolute lightest pressure possible and focus on hooking debris from the very edges. These ports are increasingly rare, but they deserve a gentle hand if you are still using one.
What to Do If Your Charging Port Got Wet?
Liquid in the charging port is a different problem entirely, and the cleaning approach changes. Modern phones detect moisture and will refuse to charge through the port until it dries, which is a protective feature, not a malfunction.
First, power off the phone immediately. Do not plug anything into the port. Gently tap the phone against your hand with the port facing down to encourage water to drain out, then leave the phone upright in a dry area with good airflow. Give it at least two to five hours to dry completely before attempting to charge it.
Skip the rice. Despite being widely recommended, uncooked rice does not actually absorb moisture faster than simply air drying, and rice dust can get into the port and create a new problem. A fan blowing gently across the phone works far better.
If you urgently need to charge a wet phone and your device supports wireless charging, use that instead. Wireless charging completely bypasses the port and lets you power up while the moisture dries on its own schedule.
How to Prevent Future Buildup?
Cleaning is temporary if you do not address the source of the debris. A few simple habits keep your port cleaner for much longer between sessions.
Keep your phone in a pocket that you do not also use for keys, coins, or tissues. The combination of fabric lint and pocket debris is what packs the port so tightly. When you store your phone in a bag, use a dedicated pocket or a sleeve rather than tossing it in loose.
Consider a set of silicone port plugs or dust covers, which cost only a few dollars and physically block debris from entering. Another popular option mentioned frequently on forums is a magnetic charging cable, which leaves a small magnetic adapter in the port at all times and snaps the cable on magnetically. This eliminates cable friction wear entirely and prevents most debris from getting in.
Finally, make a quick port inspection part of your routine every couple of months. A thirty-second flashlight check lets you catch buildup before it becomes a charging problem.
When to Call a Professional?
Sometimes a port is beyond what a toothpick can fix. If you have cleaned thoroughly, confirmed with a flashlight that the port is clear, and your phone still will not charge with a known-good cable, the problem is likely hardware damage to the pins or the internal charging board.
A professional cleaning at a repair shop typically costs between $25 and $75 depending on the shop and your location. If the port itself needs full replacement, expect $70 to $150 for most phones, with flagship models running higher. Apple and Samsung authorized service centers sometimes bundle a port cleaning into a diagnostic visit at no charge if your phone is under warranty or AppleCare.
One special situation worth knowing about: if you work in a metal fabrication shop, welding environment, or anywhere metal dust is present, that conductive dust can short the pins even when you clean it out. In those cases, a magnetic charging cable is not just a convenience, it is a genuine safety measure for your phone.
FAQs
Is it safe to clean a phone charging port?
Yes, cleaning a phone charging port is safe when you power off the device first and use only soft non-metal tools like a wooden toothpick or plastic floss pick. Avoid metal objects, sharp tools, and liquid poured directly into the port.
Can I put rubbing alcohol in my charging port to clean it?
You should never pour alcohol directly into the port. Instead, lightly dampen a cotton swab with 91 percent isopropyl alcohol, press it against a paper towel so it is barely moist, and gently wipe the walls of the port. Let it dry fully before powering on.
How can I perfectly clean my charging port in my phone?
Power off the phone, shine a flashlight into the port, gently scrape the walls with a wooden toothpick to hook out lint, tap the phone port-down against your palm to release debris, and repeat until you can see the metal pins clearly at the bottom. Finish with a soft brush if needed.
How much does it cost to have an iPhone charging port cleaned?
A professional charging port cleaning at a repair shop typically costs between $25 and $75. If the port needs full replacement, expect $70 to $150 for most models. Apple may clean the port at no charge during a diagnostic visit if your phone is under warranty or AppleCare.
What are signs of a dirty charging port?
Common signs include a loose or wiggly charging cable, charging that only works at a certain angle, noticeably slower charging speeds, a moisture or debris detection warning despite no liquid exposure, and visible lint packed inside the port when you shine a flashlight in.
What household items can I use to clean my charging port?
The best household items are a wooden toothpick, a plastic floss pick, a soft-bristled toothbrush, a cotton swab, and 91 percent isopropyl alcohol. A flashlight or another phone light helps you see inside the port. Never use metal paperclips, needles, or safety pins.
Why will not my phone charge even with a new cable?
If a new cable does not fix the problem, the charging port is likely packed with compacted lint and dust that blocks the connector pins from making contact. Shine a flashlight into the port and look for a layer of fuzzy material at the bottom. Cleaning it out with a wooden toothpick usually restores normal charging.
Conclusion
Knowing how to safely clean the charging port on your phone is one of the most practical skills you can pick up as a phone owner. A wooden toothpick, a flashlight, and five minutes of patience will fix the vast majority of charging problems without a repair bill.
Power off first, avoid metal and compressed air, work gently from the sides, and let any alcohol dry completely before testing. Pair that routine with a few prevention habits like dedicated pockets and port plugs, and you may never face a dead-battery surprise again.
If cleaning does not solve the issue, a repair shop can diagnose whether you need a deeper clean or a full port replacement. Either way, you now have the knowledge to handle the most common charging problem yourself before spending a dollar.