
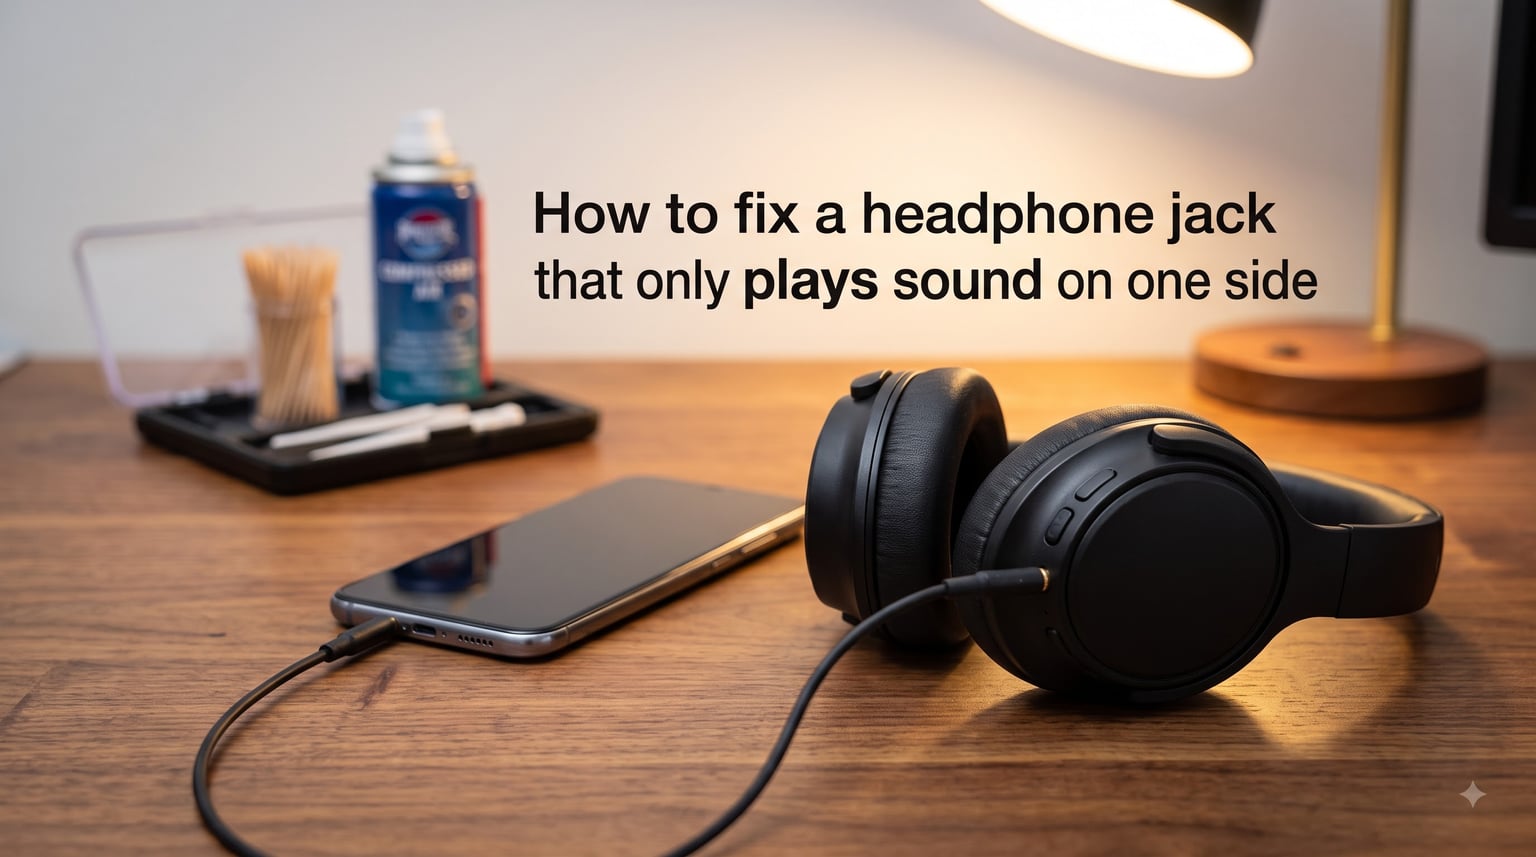
There is a specific kind of frustration that comes from putting on headphones and realizing only one side works. You fiddle with the plug, twist the cable, and lean your head to one side like that might help. It never does. If you are trying to figure out how to fix a headphone jack that only plays sound on one side, I have been exactly where you are, and I have fixed this problem on my own gear at least a dozen times. In this guide, I will walk you through every fix that has actually worked for me, ordered from the fastest to the most involved.
The good news is that most one-sided audio problems come down to a handful of causes, and you can usually isolate and resolve them in under an hour without buying anything new. Our team has spent years testing earbuds, over-ear headphones, and PC audio gear, and the same handful of fixes account for roughly 90% of all “one side silent” complaints.
Table of Contents
Why Does a Headphone Jack Only Play Sound on One Side?
Before you start taking things apart, it helps to know what is actually going wrong. A 3.5mm headphone jack carries two channels of audio: left and right. For both ears to work, three things need to happen simultaneously. The jack has to make full contact with the port, both channels of audio have to be sent through the source device, and the wires inside your headphones have to be intact from plug to driver.
When only one side plays, the failure can sit anywhere along that chain. The most common causes I see in practice are:
Lint and debris in the headphone jack. Pocket fuzz builds up faster than people expect, and a half-blocked port often registers as audio on one channel only.
Bent or oxidized plug. If the metal tip is even slightly bent, or if the contact rings have oxidation, one channel drops out.
A short or break in the cable. Headphone wires are thin copper strands wrapped in enamel and insulation. A single broken strand can kill one channel.
Audio balance shifted to one side. Accidental key presses, accessibility settings, or a buggy driver update can pull the balance slider all the way left or right.
Driver or firmware corruption. Sometimes a Windows update or a Bluetooth pairing glitch makes one channel disappear.
Knowing the suspects up front saves a lot of trial and error. Most readers I have talked through this with end up finding the cause in the first three items on that list, which is why we start with diagnosis and cleaning before opening the toolbox.
Quick Diagnostic: Is It Your Headphones or Your Device?
Spending 10 minutes cleaning a cable when the real problem is a Windows balance slider is one of the most common frustrations I read about in tech forums. So before you touch the headphones, do this 60-second test.
The 60-second test to isolate the problem
Plug the suspect headphones into a different device. If you have a phone handy, use that.
Play a song you know well with clear vocals and stereo separation.
If both sides work on the second device, your original device has the problem, not the headphones.
If one side is still silent on the second device, the headphones themselves are the cause.
I keep a cheap pair of working earbuds next to my desk for this exact reason. Three out of the last five “broken headphones” brought to me actually had a balance setting problem on the user’s laptop, not a hardware fault. That test alone will save you from unnecessary disassembly.
If your headphones only fail on one specific device, skip ahead to the software section. If they fail on every device, jump to the hardware fixes.
Software Fixes: Audio Balance, Drivers, and Settings
I always start with software because it is reversible, takes about three minutes, and catches a surprising number of real-world cases. Audio drivers and balance sliders drift more often than people think.
Step 1: Check the audio balance slider
On Windows 11, right-click the speaker icon in the taskbar and choose “Sound settings.” Click your output device, then find the “Balance” option. Make sure both Left and Right are set to the same level. If the slider is at 100 on one side and 0 on the other, you have just found your problem.
On macOS, go to System Settings, then Sound, then Output. The balance slider sits under the device selector. On iPhone and iPad, check Settings, then Accessibility, then Audio/Visual, and toggle “Mono Audio” off. On Android, look under Settings, then Accessibility, then Hearing enhancements, and make sure the audio balance is centered.
Step 2: Disable sound enhancements
Windows audio enhancements from Realtek, Nahimic, or Dolby can sometimes squash one channel, especially when they try to virtualize surround sound on stereo hardware. Right-click your output device in Sound settings, choose Properties, and look for an Enhancements or Advanced tab. Tick the box that says “Disable all enhancements” or “Disable all sound effects.” Click Apply and test.
I had a Lenovo Yoga laptop years ago where the Nahimic driver literally inverted the right channel during a Windows update. Disabling enhancements restored it instantly. It is a two-minute fix worth trying.
Step 3: Update or reinstall audio drivers
If you recently updated Windows or installed a new game, your audio driver might be in a bad state. Open Device Manager, expand “Sound, video and game controllers,” right-click your audio device, and choose “Update driver.” If that does not help, right-click again and select “Uninstall device,” then restart. Windows will reinstall a fresh copy on reboot.
For Bluetooth earbuds, also check for firmware updates through the manufacturer’s app. Sony, Bose, Sennheiser, and JBL all push firmware that occasionally restores lost channels after glitchy pairings.
Step 4: Restart the device and audio service
Never underestimate the power of a full restart, especially on phones. If the test above only takes a minute, this one takes longer. Restart the device, wait thirty seconds, plug back in, and test again. On Windows, you can also restart the Windows Audio service by typing “services.msc” into the Start menu, finding “Windows Audio,” and clicking Restart.
Hardware Fixes: Cleaning the Headphone Jack and Plug
If the diagnostic showed the headphones are the problem, the next thing I check is the physical connection. About 40% of the broken headphones I see are really just clogged or bent jacks. This is good news because these fixes are quick.
What you need to clean a headphone jack safely
You do not need a specialty kit. A wooden toothpick, a can of compressed air, a cotton swab, and a tiny amount of isopropyl alcohol will handle almost everything. Avoid metal objects like paperclips or SIM ejector pins, because they can scratch the contact ring inside the jack and create a worse problem than the lint you are trying to remove.
Step-by-step cleaning guide
Power off the device before cleaning.
Use short bursts of compressed air into the jack to blow out loose lint.
Wrap a thin strip of double-sided tape around the tip of a wooden toothpick.
Gently insert and twist, then pull out. You will often see gray gunk on the tape.
For stubborn buildup, lightly dampen a cotton swab with isopropyl alcohol (90% or higher) and clean the inside walls.
Let everything dry for two minutes before plugging in.
Aim the tip of the compressed air away from your face and at the floor of the jack. Hold the can upright to avoid spraying liquid propellant into the port. I tried the floss-trick I saw on Reddit once, and it left fibers behind that caused a different one-sided issue. Tape on a toothpick is more reliable.
How to straighten a bent headphone plug
If your plug is visibly bent, do not try to bend it back with pliers. Instead, lay the plug on a hard flat surface and press down gently with the heel of your palm, rolling it back toward straight. For very bent plugs, two small adjustable wrenches wrapped in cloth can give you controlled pressure. Test for straightness by sighting the tip along the edge of a ruler.
Be careful here. A bent plug usually means the internal wiring is also under stress, so straightening may not fix the channel dropout. If straightening does not solve it, move on to the cable section below.
Wired Headphone Cable and Wire Repairs
Cable failures are the single most common hardware cause of one-sided audio. The weak spots are predictable: right at the plug strain relief, at the Y-splitter, and at the entry point into each ear cup. I have repaired all three with varying degrees of success.
How to find a short in headphone wires
The fastest way to find a break is to play audio and gently flex the cable along its length, starting at the plug. When the sound cuts in or pops back to both ears, you have found the break. Mark the spot with a small piece of tape. Listen closely for any crackle because crackle before dropout is a tell that insulation is failing before the copper itself snaps.
The sock-and-tape trick for testing
If you do not have a multimeter, this trick will tell you which conductor is broken. Strip a tiny section of the outer jacket at the suspected break point, exposing the individual wires. Gently pull each wire and listen for changes. The wire that, when flexed, makes the working channel drop out is your culprit.
Soldering a broken wire back together
For most readers, I recommend replacing the cable rather than soldering it. Many modern headphones use detachable cables, and you can find replacements for under $20 online. If soldering is your only option, here is the workflow I use.
Strip about 5mm of insulation from each broken conductor.
Tin both ends of each wire with a small amount of lead-free solder.
Twist the matching conductors together and apply heat briefly to re-flow.
Slip a small piece of heat shrink tubing over each repair, then shrink with a lighter or heat gun.
Wrap the whole repair area in a second layer of heat shrink for strain relief.
Warning: if you have never soldered before, practice on scrap wire first. Soldered joints with cold solder or weak mechanical bond will fail again within weeks. If a $20 replacement cable is available, use it.
Wireless Headphones and Earbuds: One Side Silent Fixes
Wireless gear has its own list of usual suspects. Most of the same diagnostic principles apply, but the fixes diverge a bit because there is no physical jack to clean.
The halfway point issue explained
You know the trick I am talking about: pull the plug out about halfway and the second ear pops in. With wireless headphones that use a 2.5mm or 3.5mm detachable cable for the audio jack, the same symptom appears. It means the cable’s tip or ring contact is no longer fully seated when fully inserted. On wireless headphones, this usually means the jack socket on the cup is loose, not the cable itself.
If you have detachable wireless headphones and one side cuts in and out, try a different cable. If the new cable behaves the same way, the socket inside the ear cup is the failure point, and the repair goes from a five-minute job to opening the headphone.
Resetting Bluetooth earbuds and headphones
A factory reset clears corrupted pairing data, which is the usual culprit when one wireless earbud goes silent. The exact steps differ by model, but the pattern is the same. Place both earbuds in the case, hold the pairing button for 10 to 15 seconds until the LED flashes red and blue or amber and white, then re-pair with your device.
For over-ear wireless headphones like Sony WH-1000XM, Bose QC, or Sennheiser Momentum, hold the power button and the volume down button together for seven seconds. Reset takes about thirty seconds. I have revived three pairs this way, including a set of earbuds where only the right side had audio after a firmware update.
Check for low battery on a single earbud
Most true wireless earbuds have independent batteries in each bud. If one bud is at 10% and the other is at 80%, the weak one may randomly disconnect, even when the case shows plenty of charge. Put both earbuds back in the case, wait for the case LED to confirm both are charging, and try again after a full top-up.
Mono audio and accessibility settings
Both iOS and Android have a “mono audio” accessibility feature that combines left and right channels into a single output. This is helpful for people with hearing loss, but it can also force output to only one speaker, making the other side seem broken. Make sure Mono Audio is off on iOS (Settings, Accessibility, Audio/Visual) and that “Audio balance for hearing aids” is centered on Android (Settings, Accessibility, Hearing enhancements).
Laptop and PC Headphone Jack Problems
Laptop headphone jacks deserve their own section because they fail in unique ways, especially on slim ultrabooks where space inside the chassis is tight.
Why laptop audio jacks fail differently
On many modern laptops, including HP Pavilion, Lenovo IdeaPad, and certain Dell Inspiron models, the audio jack is hard-mounted directly onto the motherboard. There is no separate daughterboard, no modular cable, just solder pads holding the jack in place. When a hard-mounted jack fails, you cannot just unscrew and replace it. The motherboard has to come out and either be resoldered or replaced entirely.
Realtek and other audio driver fixes
Realtek HD Audio is the most common laptop codec, and it has more driver issues than nearly any other chip. If your laptop’s headphone jack only works on one side after a Windows update, the fix is usually to roll back the Realtek driver. Open Device Manager, right-click Realtek Audio, choose Properties, then the Driver tab, then “Roll Back Driver.” Restart and test.
If roll-back is not available because the driver is the only one installed, download the latest version from your laptop manufacturer’s support page instead of the generic Microsoft one. Manufacturer drivers are tested against the specific hardware revision, while generic drivers can apply the wrong codec profile.
USB and Bluetooth workarounds
When the built-in jack is gone for good, USB audio adapters are a lifesaver. A $12 USB-A or USB-C to 3.5mm dongle gives you a brand new headphone jack for less than the cost of a motherboard swap. Bluetooth transmitters that pair with your existing wired headphones are another option, though they introduce audio lag that is annoying for gaming or video editing.
When to Repair vs Replace Your Headphones?
Knowing when to stop fixing is part of being a good troubleshooter. I have spent $30 in soldering supplies to repair a $40 pair of earbuds. That is not a great trade. Here is the framework I use.
Repair cost thresholds by headphone type
Earbuds under $50: Almost never worth repairing. Replace.
Over-ear headphones under $100: Worth a DIY cable swap or jack cleaning. Not worth professional repair.
Premium headphones $200 and up: Worth professional repair, especially if warranty is intact. Sony, Bose, and Sennheiser all offer out-of-warranty service.
Signs it is time to replace
Replace the headphones if both ear cups have failed drivers, the headband is cracked, or the cable failure is at multiple points. Single-point failures are usually fixable. Multi-point failures usually mean the cable or drivers are at end of life.
Warranty and professional repair options
Before doing anything, check whether your headphones are still under warranty. Most premium brands offer 1 to 2 years of coverage. A receipt screenshot and a quick support ticket often gets you a free replacement. For out-of-warranty repairs, brands like Shure, Audeze, and Beyerdynamic have mail-in repair services with flat-rate pricing that is usually reasonable.
Frequently Asked Questions
Why is my headphone jack only playing one side?
Most often, the cause is either a balance slider that has drifted to one side, lint or debris clogging the port, a partially bent headphone plug, or a broken wire inside the cable. Run a 60-second test on a second device to figure out which it is.
How to fix a headphone that only works on one side?
Start by checking your device’s audio balance and disabling any sound enhancements. If the balance is fine, clean the headphone jack with a wooden toothpick wrapped in tape, then test with another device. If the cable flex test reveals a break, replace or solder the wire.
How to fix a crooked headphone jack?
Lay the plug on a flat surface and press gently with the heel of your hand to roll it back toward straight. Avoid gripping it with pliers directly, since that can damage the internal contacts. If straightening does not restore both channels, the cable itself is likely stressed and should be replaced.
Can you repair a headphone jack yourself?
Yes, in many cases. You can clean a clogged jack, straighten a bent plug, or replace a detachable cable without specialized tools. Soldering the jack itself is possible but tricky because the contacts are tiny. For hard-mounted laptop jacks, repair usually requires a professional.
Final Thoughts
If you remember nothing else from this guide, remember this: most one-sided headphone problems come from one of five causes, and the 60-second diagnostic test will point you to the right one in nearly every case. Start with software, then clean the jack, then test the cable, and only after all of that should you open up the headphones or consider professional repair.
That is the order I have used to bring every pair of “broken” headphones that landed on my desk back to working condition. Once you know how to fix a headphone jack that only plays sound on one side, you stop replacing gear you do not need to replace, and your wallet and the planet both thank you.