
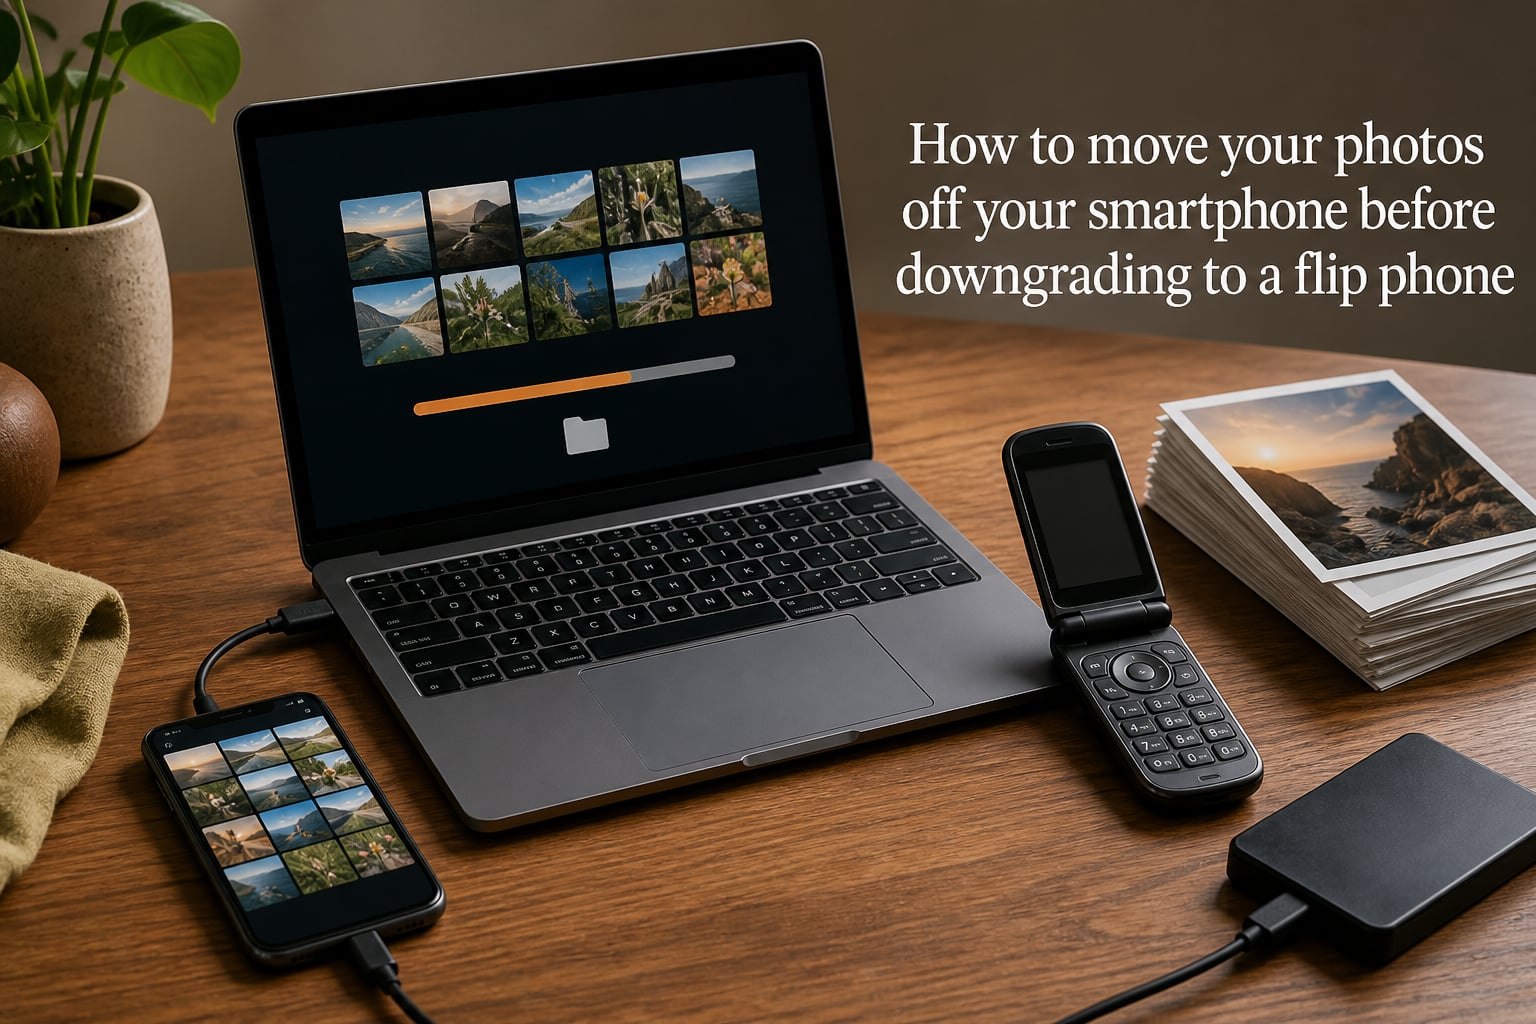
Switching from a smartphone to a flip phone is one of the most freeing decisions you can make for your mental health and screen time. But there is one thing that stops people cold: their photos. After years of snapping pictures of birthdays, vacations, kids, and everyday moments, the thought of losing those memories is terrifying.
The good news is that learning how to move your photos off your smartphone before downgrading to a flip phone is straightforward once you know the steps. You need to transfer your images to a computer, cloud service, or external drive before you hand over your smartphone.
I have helped several friends and family members through this exact transition, and the photo question always comes up first. One friend had over 10,000 photos on her iPhone 11 and was paralyzed by the fear of losing them. Another had 28,000 images accumulated over five years and did not know where to start.
In this guide, I will walk you through every method available, from the simplest USB transfer to wireless apps designed for massive photo libraries. By the end, you will have a clear plan to protect every single photo before you make the switch to a simpler phone.
Table of Contents
What Happens to Your Photos When You Switch to a Flip Phone?
Your photos do not magically move to your new flip phone. They stay on your smartphone, and if you trade in, sell, or recycle that phone without backing up, those photos are gone for good.
This is the single most important thing to understand: flip phones cannot access your smartphone photo library. Even if your flip phone has a camera and limited storage, it has no way to display or receive the thousands of photos sitting on your iPhone or Android.
A common misconception is that swapping your SIM card will carry your photos over. It will not. SIM cards store contacts and carrier information, not photos. Your photos live in your phone’s internal storage or on a microSD card, neither of which transfers via SIM.
If your photos are in iCloud or Google Photos, they remain safely stored in the cloud. You just cannot view them on a flip phone. You would need to access them from a computer, tablet, or borrow a smartphone when needed. That is why getting them onto a device you control, like a computer or external drive, is the smart move.
How to Assess Your Photo Library Before Transferring?
Before you move a single file, take ten minutes to understand what you are working with. This saves hours of frustration later.
Start by checking how many photos and videos you actually have. On an iPhone, go to Settings, then General, then iPhone Storage, and look at the Photos breakdown. On Android, open the Files app or Google Photos and check your library size. Knowing whether you have 500 photos or 15,000 changes your approach.
Videos are the hidden storage hogs. A single minute of 4K video can take up 400 MB, while a photo might only need 3 MB. If you have hundreds of videos, your transfer will take significantly longer and require more storage space on your destination device.
Decide where your photos are going. A computer with 500 GB of free space handles most personal libraries easily. If you are working with a laptop that has limited storage, an external hard drive is your best bet. Cloud storage works too, but factor in monthly subscription costs and upload time for large libraries.
Finally, think about what you actually want to keep. Many people use this transition as an opportunity to delete screenshots, duplicates, and blurry shots they have been holding onto for years. Trimming your library before transferring cuts your transfer time dramatically.
Method 1: Transfer Photos to a Computer via USB
The most reliable way to move photos off your smartphone is a direct USB connection to a computer. No internet required, no upload limits, and you see the files land on your hard drive in real time.
iPhone to Mac Using the Photos App
Connect your iPhone to your Mac using a USB cable. The Photos app should open automatically. If it does not, open it manually from your Applications folder.
Your iPhone will appear in the sidebar under Devices. Click on it, and you will see all the photos on your phone that are not already in your Mac library. Select the photos you want to import, or click Import All New Photos to grab everything.
The Photos app shows a progress bar as files transfer. Once complete, you will see a prompt asking if you want to delete the imported photos from your iPhone. Do not delete yet. Verify the transfer first.
iPhone to Windows PC
Connect your iPhone to your Windows PC with a USB cable. Unlock your phone and tap Trust This Computer when the prompt appears. This step trips up a lot of people, so do not skip it.
Open File Explorer and look for your iPhone under This PC. Navigate to Internal Storage, then DCIM, and you will see folders containing your photos. You can copy these folders directly to your computer like any other files.
The Windows Photos app also offers an import feature. Plug in your iPhone, open Photos, click Import, and select From a connected device. The app scans your phone and lets you choose which photos to bring over.
Android to Computer
Connect your Android phone to your computer with a USB cable. Swipe down from the top of your screen and look for the USB notification. Tap it and select File Transfer or MTP mode.
On your computer, open File Explorer and find your phone under This PC. Navigate to Internal Storage, then DCIM, then Camera to find your photos. Copy the entire folder or select individual files and paste them into a folder on your computer.
If your Android has a microSD card with photos stored on it, you can remove the card and insert it directly into a card reader on your computer. This is often the fastest method.
Verify the Transfer
This step is non-negotiable. After your transfer completes, open a handful of random photos from the new location on your computer. Confirm they open correctly and look the same as they did on your phone. Check that the file count roughly matches what you expected.
Only after verification should you delete photos from your phone. I recommend waiting until your phone is completely set up for trade-in or sale before wiping anything.
Method 2: Back Up Photos to Cloud Services
Cloud storage gives you access to your photos from any device with an internet connection, which is valuable when your flip phone cannot display them. The tradeoff is upload time for large libraries and potential subscription fees.
Google Photos Backup
If you are not already using Google Photos, install the app on your smartphone and sign in with your Google account. Open Settings, then Backup, and turn on backup. Google Photos will begin uploading your entire library automatically.
The free tier offers limited storage that is shared across Google services. For large libraries, a Google One subscription gives you 100 GB or more. Upload speed depends on your internet connection, and transferring 10,000 photos can take several hours or even overnight.
Once uploaded, you can access your photos from any computer by visiting photos.google.com. This works on both iPhone and Android.
iCloud Photo Download
If you already use iCloud Photo Library, your photos may already be backed up. To confirm, go to Settings on your iPhone, tap your name, then iCloud, then Photos. If iCloud Photos is toggled on, your images are syncing to the cloud.
To download a local copy, sign in to iCloud.com on a computer and go to Photos. You can select and download photos individually or in batches. For downloading your entire library, use the iCloud for Windows app or the Photos app on a Mac.
OneDrive and Other Options
Microsoft OneDrive offers automatic camera upload on both iPhone and Android. Install the app, sign in, and enable camera upload in settings. Dropbox and Amazon Photos provide similar functionality.
Cloud vs Local Backup
Cloud backups are convenient and protect against physical loss. If your computer crashes, your photos survive in the cloud. The downside is ongoing subscription costs and reliance on an internet connection.
Local backups are faster, free after the initial hardware purchase, and give you complete control over your files. The risk is physical loss if your hard drive fails. The smartest approach is to use both. Back up locally first, then mirror to a cloud service as a second layer of protection.
Method 3: Use Wireless Transfer Apps
Wireless transfer apps are ideal when you have a massive photo library and want to avoid cable connections. They use your Wi-Fi network to move files directly between devices.
PhotoSync for Large Libraries
Reddit users in the r/dumbphones community repeatedly recommend PhotoSync for transferring large photo collections. One user reported moving 28,000 photos without a single failure using this app. It works on both iPhone and Android and sends photos directly to a computer, NAS drive, or cloud service over Wi-Fi.
Install PhotoSync on your phone and the companion app on your computer. Both devices need to be on the same Wi-Fi network. Open the app, select the photos you want to transfer, choose your computer as the destination, and the app handles the rest.
AirDrop for Mac Users
If you have an iPhone and a Mac, AirDrop is built in and requires no extra software. Open the Photos app on your iPhone, select the images you want, tap the share icon, and choose AirDrop. Select your Mac from the list.
AirDrop works best for smaller batches. If you are transferring thousands of photos, the USB method or PhotoSync will be faster and more reliable.
When to Use Wireless vs Wired
Use a wired USB connection when you have thousands of photos and want the fastest, most reliable transfer. Use wireless apps when your library is smaller, when you want to send photos to multiple destinations, or when you cannot find a cable.
Wireless transfers are also handy for ongoing use. After switching to your flip phone, you can occasionally borrow a smartphone or tablet, take photos, and use PhotoSync to send them to your computer without cables.
Method 4: Move Photos to an External Hard Drive or USB Drive
An external drive gives you a self-contained backup that does not depend on a computer’s internal storage or a cloud subscription. This is the method I recommend most for people who want a permanent, tangible archive.
USB OTG Transfer on Android
Many Android phones support USB OTG (On-The-Go), which lets you connect a USB flash drive or external hard drive directly to your phone using an adapter. Plug in the drive, open your Files app, select your photos, and copy them to the drive.
This method bypasses the computer entirely. It is fast, portable, and gives you a physical backup you can store in a drawer or safe.
Computer Intermediary for iPhone
iPhones do not support direct USB drive connections without specific hardware. The simplest approach is to transfer photos to a computer first using Method 1, then copy them from the computer to an external drive. This gives you two backups in one workflow.
SD Card Option
If your phone has a microSD card slot, you can move photos directly to the card using your phone’s file manager. Remove the card and store it safely, or use an SD card adapter to copy the files to a computer. Label the card with the date and contents so you remember what is on it.
How to Handle Videos and Large Files?
Videos deserve special attention because they consume far more storage than photos. A library of 5,000 photos might total 15 GB, but add a few hundred short videos and you could be looking at 100 GB or more.
Before transferring, review your videos and decide what is worth keeping. Most people have dozens of accidental recordings, long clips they will never watch, and duplicate videos that can be deleted. Trimming these down saves significant transfer time and storage space.
For the videos you keep, the USB transfer method handles them the same way as photos. Just be prepared for longer transfer times. A 2 GB video file takes noticeably longer than a 3 MB photo, especially over wireless connections.
Checklist: Verify Your Backup Before You Switch
Before you trade in, sell, or factory reset your smartphone, run through this verification checklist. I cannot count how many people have skipped this step and regretted it.
Step 1: Compare file counts. Check how many photos were on your phone and how many are now on your computer or backup drive. The numbers should match closely.
Step 2: Open 10 random photos from different time periods in your backup. Confirm they load correctly and display at full quality.
Step 3: Open at least 3 videos from your backup. Play them from start to finish to confirm they are not corrupted.
Step 4: Check that your backup includes photos from messaging apps. WhatsApp, Telegram, and other apps save images to separate folders that are easy to miss during a standard transfer.
Step 5: Create a second backup in a different location. If your primary backup is on a computer, copy the photos to an external drive or cloud service as well. Two backups are infinitely safer than one.
Step 6: Only after all five steps pass, delete photos from your phone. Even then, keep the phone for a few weeks after switching to your flip phone, just in case you discover something was missed.
How to Move Your Photos Off Your Smartphone Before Downgrading to a Flip Phone: Common Mistakes to Avoid
Even with the best methods, people make preventable mistakes during this process. Here are the ones I see most often.
Trusting a single backup is the number one error. Hard drives fail, cloud accounts get hacked, and files corrupt. Always maintain at least two copies of your photos in different locations.
Forgetting messaging app photos is extremely common. WhatsApp, Facebook Messenger, and other apps store received photos in folders separate from your main camera roll. On Android, check the WhatsApp Images folder. On iPhone, check for albums created by third-party apps.
Not checking file integrity is a silent killer. A transfer can appear successful while files are silently corrupted. Opening a few random files after transfer catches this problem before it is too late.
Rushing the process leads to mistakes. Set aside an afternoon for this task. Trying to transfer 10,000 photos in twenty minutes before heading to the phone store is a recipe for lost memories.
Frequently Asked Questions
How do I transition from a smartphone to a flip phone?
First, back up all your photos, contacts, and important data to a computer or cloud service. Transfer any files you want to keep, verify the backup by opening random files, then factory reset your smartphone. Activate your new flip phone with your carrier, insert your SIM card, and manually re-enter contacts since SIM cards do not transfer photo data.
What is the best way to save pictures off your phone?
The most reliable method is a USB cable transfer to a computer. Connect your phone, use the Photos app on Mac or File Explorer on Windows, copy your photos, and verify the files opened correctly. For large libraries of 10,000 or more photos, wireless apps like PhotoSync handle the transfer smoothly over Wi-Fi. Always create a second backup on an external drive or cloud service.
Are flip phones still usable in 2026?
Yes, flip phones are fully usable in 2026 and are growing in popularity among people seeking digital detox and reduced screen time. Models like the Nokia 2780 Flip and CAT S22 Flip offer calling, texting, and basic functionality. However, they cannot run smartphone apps, display cloud photo libraries, or access social media platforms.
Can you transfer all photos from one phone to another?
You can transfer photos between two smartphones using AirDrop, Google Photos, or direct transfer tools. However, you cannot transfer photos from a smartphone to a flip phone because flip phones lack the storage and software to display them. Instead, back up photos to a computer, external drive, or cloud service before switching.
What happens to my iCloud photos when I switch to a flip phone?
Your iCloud photos remain safely stored in the cloud. Switching to a flip phone does not delete them. You simply cannot view them on the flip phone itself. To access your photos, sign in to iCloud.com from a computer or use the iCloud app on any Apple device. Your storage subscription continues regardless of which phone you use.
How long does it take to transfer 10,000 photos?
A USB transfer of 10,000 photos to a computer typically takes 30 to 60 minutes depending on file sizes. Wireless transfers using apps like PhotoSync can take 2 to 4 hours over a strong Wi-Fi connection. Cloud uploads depend heavily on your internet speed and may take several hours or overnight for large libraries.
Conclusion
Learning how to move your photos off your smartphone before downgrading to a flip phone comes down to choosing a method and following through carefully. Whether you use a USB cable, cloud storage, a wireless app, or an external drive, the key is to act before you switch, verify your backup, and keep a second copy for safety.
The most reliable approach is a USB transfer to a computer, verified and then mirrored to an external drive or cloud service. This gives you speed, control, and redundancy in one workflow. For massive libraries, PhotoSync has earned its reputation among the dumbphone community for handling transfers without failures.
Remember that your flip phone is about simplicity, not deprivation. Your photos are not lost when you switch. They are just living somewhere else. With a solid backup in place, you can enjoy the freedom of a simpler phone knowing your memories are safe and accessible whenever you need them.
Take an afternoon, follow the checklist, and make the switch with confidence. Your future, less-distracted self will thank you.