
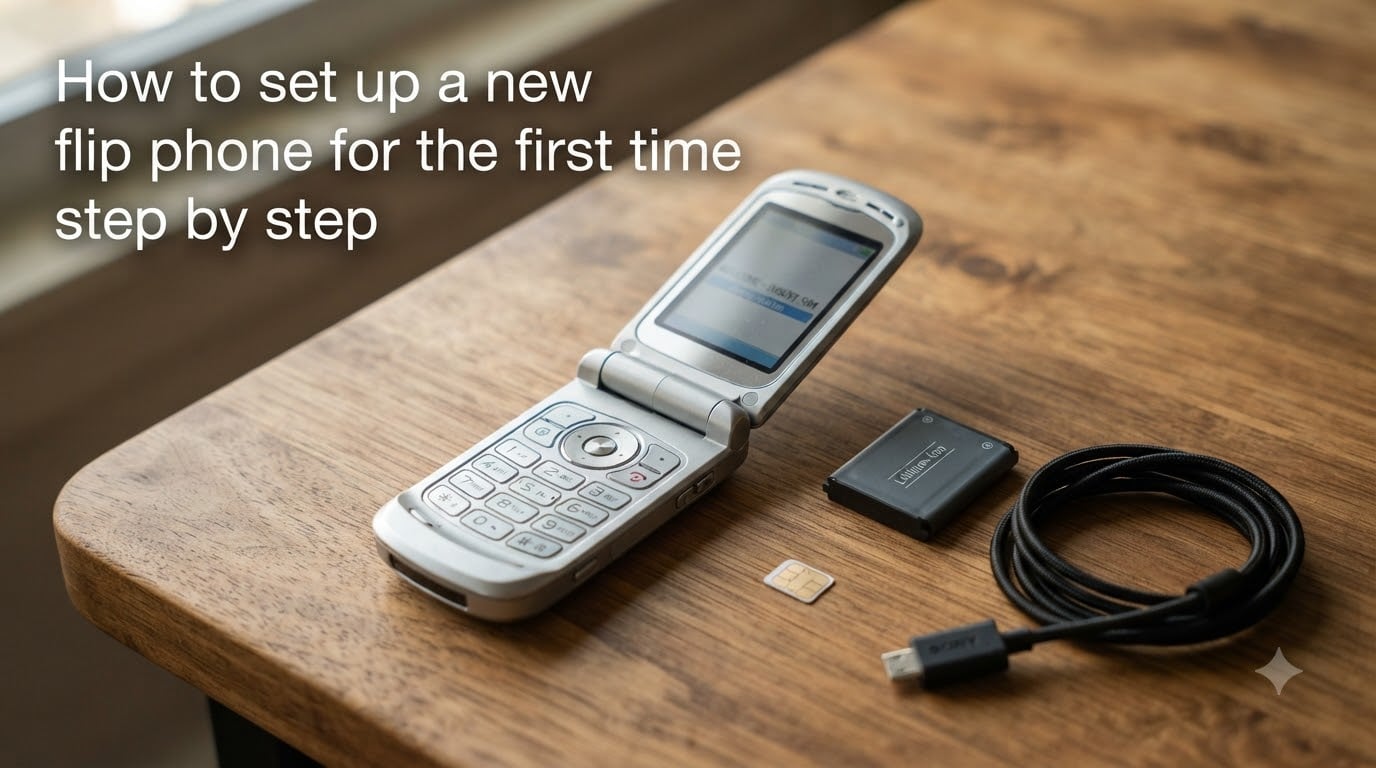
Setting up a flip phone for the first time should take about 15 to 45 minutes from unboxing to your first call. If you know how to set up a new flip phone for the first time step by step, the process becomes almost effortless — insert the SIM card, install the battery, power on, and follow the on-screen wizard.
I have helped dozens of friends, family members, and seniors switch from smartphones to flip phones over the past few years. The setup itself is genuinely simple, but the confusion usually comes from SIM card sizes, carrier activation, and the unfamiliar T9 keypad. This guide walks through every step with the exact actions you need to take.
Whether you are switching to a flip phone for digital minimalism, getting one for an older relative, or picking up a basic backup device, the steps below cover the full setup process. I will also share contact transfer methods, voicemail setup, accessibility options, and tips for adjusting to life without a touchscreen.
Table of Contents
What You Need Before Starting?
Having everything ready before you begin saves time and prevents mid-setup frustration. Here is a quick checklist to gather first.
Your new flip phone (fully unboxed)
An activated SIM card from your carrier (nano SIM is most common)
The battery (if it is removable and shipped separately)
The back cover removal tool or a small fingernail
A USB-C or micro-USB charger
Your old phone (for contact transfer and reference)
Your carrier account login or phone number for activation
Wi-Fi network name and password (if your flip phone supports Wi-Fi)
If you ordered your phone through a carrier like Verizon, AT&T, or T-Mobile, the SIM card is usually pre-installed. Check the SIM tray before proceeding — you may be able to skip ahead to the battery and power-on steps.
How to Set Up a New Flip Phone for the First Time Step by Step?
The complete setup breaks down into six clear steps. Each one builds on the last, so work through them in order. Most users finish the entire process in under an hour, with number porting being the only variable that can take longer.
I recommend reading through all six steps once before touching the phone. Knowing what comes next helps you avoid mistakes like installing the battery before the SIM card, which forces you to remove it again.
Step 1: Open the Back Cover
Most traditional flip phones have a removable back panel that gives you access to the battery compartment and SIM slot. Power off the phone completely if it has any charge, then turn it face-down in your hand.
Look for a small notch or groove along the bottom edge of the back cover. Hook your fingernail or a plastic opening tool into that notch and gently pry upward. Work your way around the edges slowly — forcing it can crack the plastic clip.
Some newer models like the Samsung Galaxy Z Flip series do not have removable backs. If your phone is a foldable smartphone rather than a basic flip phone, skip the back cover, SIM, and battery steps entirely. Instead, locate the SIM tray on the side of the device and use the included pin tool to eject it.
Step 2: Insert the SIM Card
The SIM card is what connects your phone to your carrier’s network. Without it, you can still use the phone for photos, alarms, and games, but you cannot make calls or send texts.
First, identify the SIM card size your phone requires. The vast majority of flip phones built in recent years use a nano SIM, which is the smallest size — about the size of a fingernail. Check your phone’s manual if you are unsure, or compare the SIM to the slot shape.
Locate the SIM slot inside the battery compartment. It is usually marked with a small SIM icon or a rectangle outline showing the correct orientation. The notched corner of the SIM card tells you which way it slides in — match the angled corner on the card to the angled corner on the slot.
Slide the SIM card gently into the slot until it sits flat. It should slide smoothly with no resistance. If you feel resistance, do not force it — remove the card, check the orientation, and try again. Forcing a misaligned SIM can damage the contacts.
One important note: you can usually take the SIM card from your old phone and put it directly into a flip phone, as long as the SIM sizes match and the new phone is unlocked or on the same carrier. Your number and service move with the SIM card itself.
Step 3: Install the Battery
If your flip phone has a removable battery, line it up with the metal contacts inside the compartment. The battery has three gold or silver contact points on one edge — these must align with the matching contacts in the phone.
Most batteries only fit one way, so look for arrows or molded plastic guides. Set the contact end in first, then press the opposite end down gently until the battery clicks flat into place.
Before replacing the back cover, I recommend giving the battery its first charge. Connect the charger and let it reach at least 50 percent before powering on for the first time. This conditions the battery and prevents the phone from dying midway through the setup wizard.
Snap the back cover back on by aligning the top edge first, then pressing down around the edges until all clips engage. You should hear a series of small clicks as it seals.
Step 4: Power On the Phone
The power button on most flip phones is the red call-end key, located at the bottom right of the keypad. On some models, there is a dedicated power button on the side or top of the device. Press and hold it for two to three seconds.
The phone will display a logo or splash screen, then vibrate briefly. First boot can take 30 to 60 seconds as the device initializes. Do not press any buttons during this time — just wait for the setup screen or home screen to appear.
If the screen stays black, the battery may be too low to boot. Charge it for 10 minutes and try again. If nothing happens at all, double-check that the battery contacts are properly aligned and the back cover is fully seated.
Step 5: Complete the Initial Setup Wizard
Once the phone powers on, it walks you through a short setup wizard. The exact prompts vary by manufacturer, but most flip phones follow the same basic sequence.
First, you will select your language. Use the navigation pad or arrow keys to scroll through the list and press the center OK button to confirm. Next, set your time zone and date. This is important for call logs, alarms, and text timestamps — an incorrect time zone will throw off every scheduled feature.
The phone then searches for your carrier’s network. You should see signal bars appear at the top of the screen within 30 seconds if your SIM is active. If you see “No Service” or “Emergency Calls Only,” the SIM may need activation — covered in the next step.
Some models prompt you to set a PIN or security code during setup. Choose something memorable but not obvious like 1234 or your birth year. You can usually skip this and add it later in settings if you prefer.
If your flip phone supports Wi-Fi, the wizard may ask whether you want to connect. Wi-Fi is optional for basic calling and texting but useful if your model supports email, a web browser, or software updates.
Step 6: Activate Your Phone Service
Activation is what makes your phone actually work on a cellular network. Even with the SIM card installed, you may need to complete an activation step before you can place calls.
If you bought the phone directly from a carrier store with a new line, activation is often automatic — just power on the phone and wait. Most lines activate within 5 to 15 minutes. You can test by calling any number.
If you are porting an existing number from another carrier, the process takes longer. Number porting can complete in as little as 10 minutes when moving between the same underlying networks, but it can take up to 24 hours when switching between carriers. Keep your old phone active until the port completes — do not cancel the old service yourself.
For carrier-by-carrier activation, the common methods are:
Verizon: Dial *228 and press call, then follow the voice prompts to program the phone.
AT&T: Visit att.com/activations or call 866-895-1097 with your account details.
T-Mobile: Insert the SIM, then call 1-800-T-MOBILE or use the T-Mobile app on another device.
Consumer Cellular, Tracfone, and other MVNOs: Follow the activation card included in the box, usually a website link and an activation code.
Once activation completes, you should see your carrier name and signal bars. Place a test call to confirm everything works in both directions.
Setting Up Contacts on Your Flip Phone
A flip phone without contacts is frustrating to use. Here are the three most common ways to add them, from fastest to most manual.
The fastest method is Bluetooth transfer. Turn on Bluetooth on both your old phone and the flip phone, pair them, and select the option to send or share contacts via Bluetooth. On the flip phone, accept the incoming file. This works best when both devices support the standard vCard contact format.
The second method is SIM-based transfer. If your old phone stored contacts on the SIM card, simply moving that SIM into the flip phone brings the contacts along. Open the contacts app on the flip phone and look for an option to copy contacts from SIM to phone memory — this frees up the SIM and keeps a backup.
The third method is manual entry. Open the contacts menu, select “Add New Contact,” type the name using the T9 keypad, and enter the number. It is slow, but it works for any phone and lets you clean up your list as you go.
For seniors or anyone new to flip phones, I recommend starting with just five to ten essential contacts. Add family, doctors, and emergency numbers first. You can always add more later. Assign speed dial numbers to the most important contacts so you can reach them with a single long-press.
Essential Settings to Adjust After Setup
After the wizard finishes and your service is active, a few quick settings will make the phone far more comfortable to use. Plan to spend 15 to 20 minutes on this part.
Display and Font Size
Flip phone screens are small, but most models let you increase the font size. Go to Settings, then Display, and look for Font Size or Text Size. Bumping it up one or two levels makes menus, texts, and caller ID far easier to read, especially for older eyes.
Sound and Volume
Check your ringtone volume under Settings, then Sound. Set it loud enough to hear from across the room. Many flip phones also let you assign different ringtones to specific contacts, which is handy for knowing who is calling without looking.
Voicemail Setup
Voicemail is one of the most common questions I get from new flip phone users. To set it up, press and hold the 1 key on the keypad — this dials your carrier’s voicemail system automatically. Follow the voice prompts to create a PIN and record a greeting. If that does not work, call your own number from another phone and press the star key when the greeting plays.
Accessibility Options
Most modern flip phones include accessibility features that are easy to miss. Look in Settings under Accessibility for options like hearing aid compatibility, TTY mode, voice readout of incoming calls and menu items, and large menu mode. These features make a huge difference for users with hearing or vision challenges.
Emergency Settings
Add an ICE (In Case of Emergency) contact to your phonebook. Many flip phones have a dedicated emergency contact field in the contacts menu. Some models also support SOS mode, which dials a preset number and sends your location when you press the power button three times rapidly.
Tips for First-Time Flip Phone Users
Adjusting to a flip phone takes a few days. Here are the practical tips I share with everyone making the switch.
Master T9 Typing
T9 predictive text feels strange at first, but it becomes fast once you trust the system. The key rule: press each key only once per letter, even if the letter you want is not the first on that key. For example, to type “hello,” press 4-3-5-5-6 and the phone predicts the word. If it guesses wrong, use the down arrow to scroll through alternatives.
For names and unusual words, switch to multi-tap mode. This is usually a long-press on the pound key or an option in the text settings. In multi-tap, you press the key repeatedly to cycle through letters — press 2 once for A, twice for B, three times for C.
Understand Flip Phone Limitations
Flip phones do not run apps like WhatsApp, Spotify, or Google Maps. They are designed for calls, texts, alarms, calculators, and basic photos. Some models include a simple web browser and email client, but they are not meant for media consumption. Knowing this up front prevents disappointment.
If you need navigation, consider keeping a separate GPS device or using your old smartphone on Wi-Fi. Many people keep their smartphone at home for photos and apps while using the flip phone as their everyday carry device.
Adjusting to the Transition
Forum users on Reddit’s r/dumbphones and r/digitalminimalism consistently report that the hardest part lasts three to five days. You will reach for a touchscreen that is not there. You will feel the urge to check social media out of habit.
Most people stop missing their smartphone within a week and report feeling calmer and more present. Keeping the old phone as a backup during the transition is common and removes the anxiety of being without it entirely.
Battery Life Is a Major Upside
One of the biggest surprises for new flip phone users is battery life. Basic flip phones routinely last three to seven days on a single charge, compared to less than a day for most smartphones. Charge it overnight once or twice a week and you are set.
Frequently Asked Questions
How long does it take to set up a flip phone?
Most users complete the full setup in 15 to 45 minutes. The physical steps of inserting the SIM card and battery take about five minutes. The setup wizard and contact transfer add another 10 to 30 minutes. Number porting from another carrier is the only step that can take longer, sometimes up to 24 hours.
Can I use my old SIM card in a flip phone?
Yes, in most cases you can move your SIM card directly into a flip phone as long as the SIM sizes match (most modern phones use nano SIM) and the flip phone is unlocked or on the same carrier. Your phone number and service plan move with the SIM card.
Can you use a flip phone without a phone plan?
You can power on a flip phone without a plan and use non-cellular features like the camera, alarm clock, calculator, and games. However, you cannot make calls, send texts, or use voicemail without an active service plan or SIM card from a carrier.
How do I transfer contacts from a smartphone to a flip phone?
The fastest method is Bluetooth transfer. Pair both phones and send your contacts via Bluetooth in vCard format. Alternatively, if your contacts are stored on your SIM card, moving the SIM into the flip phone brings them along. Manual entry also works for small contact lists.
How do I set up voicemail on a flip phone?
Press and hold the 1 key on the keypad to dial your carrier’s voicemail system automatically. Follow the voice prompts to create a PIN and record a greeting. If that does not work, call your own number from another phone and press the star key when the greeting begins.
What happens if I put my SIM card in a flip phone?
Your SIM card carries your phone number and service plan. When you insert it into a compatible flip phone, that phone becomes active on your carrier’s network with your existing number. You can immediately make and receive calls and texts, assuming the phone is unlocked or matches your carrier.
Conclusion
Knowing how to set up a new flip phone for the first time step by step comes down to six clear stages: open the back cover, insert the SIM card, install the battery, power on, complete the setup wizard, and activate your service. From there, it is a matter of adding contacts, adjusting a few settings, and learning the T9 keypad.
The whole process takes under an hour for most people. The adjustment period lasts a few days, and the payoff is a phone that lasts all week on a charge and frees you from constant notifications. Start with the checklist above, work through each step in order, and you will be making calls before you know it.