
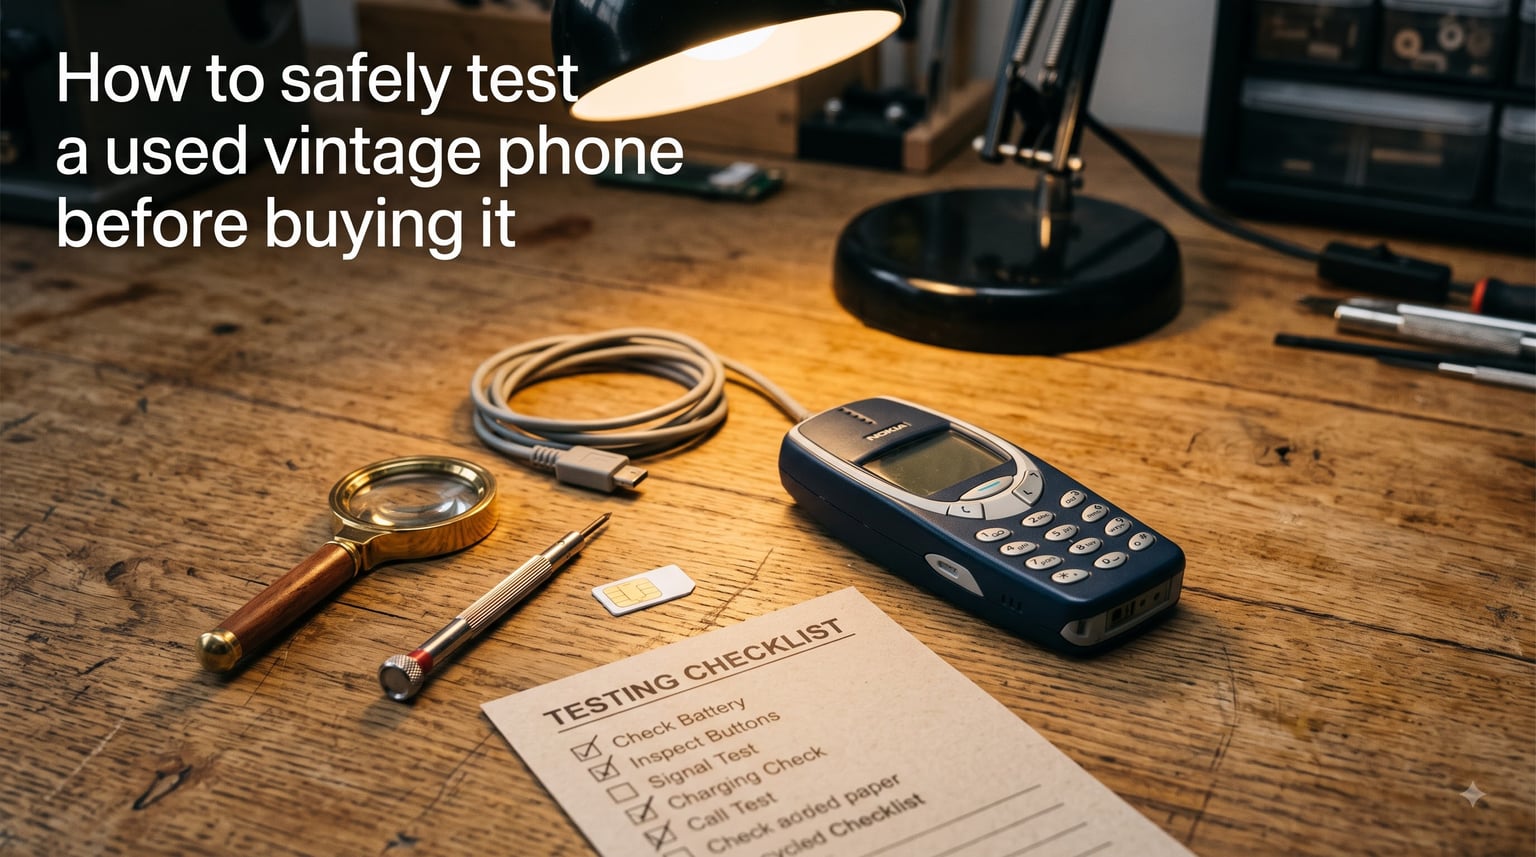
Buying a used vintage phone can save real money, but it can also lock you into a beautiful brick with a dead screen. I have picked up handsets from flea markets, online auctions, and collector forums for years, and the moment I skip a quick test is the moment I regret it. Knowing how to safely test a used vintage phone before buying it takes about fifteen minutes and saves hundreds in repairs or returns.
This guide walks through the same routine I use whenever a phone changes hands. You’ll get a printable checklist, the diagnostic codes that still work on older handsets, and the questions worth asking the seller before you hand over cash.
Table of Contents
How to safely test a used vintage phone before buying it: complete checklist
Safe testing follows a predictable order: inspect, identify, diagnose, test, then reset. Skipping steps usually means missing a defect that hides until you get home. Here is the ten-step overview we’ll expand below.
- Inspect the chassis, screen, and ports under bright light.
- Open the back cover and look for corrosion or non-original parts.
- Pull the IMEI with
*#06#and check it against the box. - Run the hidden diagnostic menu for the brand (often
*#0*#or*#9900#). - Test every button, key, and switch for response.
- Place a live call and listen on both sides.
- Check the camera, flash, and microphone with a short recording.
- Charge the phone with your own cable and adapter.
- Verify the firmware version against the official release.
- Factory reset and confirm the phone is unlocked and clean.
Inspect the physical condition before any power-on test
Physical inspection is the cheapest test you can run, and it catches more problems than people think. You only need good light, ten minutes, and a magnifier if you have one.
What to look for on the chassis and screen
Start with the corners and edges where handsets usually hit something first. Hairline cracks near the camera cutout, deep gouges along the bezel, or paint loss around the volume rocker signal drops. Hold the phone at an angle under a lamp to spot micro-scratches that look invisible head-on.
Press the screen gently along the borders. A working LCD will not ripple or show color shifts when light pressure is applied. If the image distorts, the digitizer or display laminate is loose, which usually means a previous drop.
Signs of forceful opening or water damage
Check the seams between the back cover and the frame. Mismatched gaps, stripped screws, or pry marks show the phone was opened. For vintage clamshells and sliders, run your finger along the hinge to feel for grit or wobble.
Look for a tripped Liquid Contact Indicator (LCI) sticker inside the battery compartment. On older phones this is often a small white dot that turns pink or red when wet. A tripped indicator does not mean the phone is ruined, but it does mean water entered the case and corrosion may follow.
Original box, accessories, and paperwork
Original packaging, the matching serial number on the box, and the original charger are quick trust signals. They do not guarantee a perfect phone, but they do suggest the previous owner cared for the device. For collector-grade handsets, the original manual and even the receipt move the value up several tiers.
Verify the IMEI and confirm the phone isn’t stolen
The IMEI is the single most important number on any mobile phone. It is the unique fingerprint tied to the hardware, and carriers and police use it to block stolen devices from their networks.
How to pull the IMEI on a vintage phone
Open the dialer and type *#06# on most phones. The 15-digit IMEI appears instantly. If the screen does not respond, check the label under the battery, the SIM tray on iPhones, or the white sticker on the original box. Write the number down before you do anything else.
Run the same code twice to confirm the IMEI stays consistent. If you ever see two different IMEIs appear, the phone is likely a clone with mismatched logic boards, which is a deal-breaker.
Check blacklists and stolen-device registries
Paste the IMEI into your country’s stolen-device database before paying. In the US, the major carriers share a blacklist through services like the CTIA Stolen Phone Checker. The UK offers a similar tool through CheckMend, and many European carriers maintain their own lookups. A phone that is blacklisted will not make calls, send texts, or use mobile data on that operator, even after a factory reset.
Match serial, model, and box labels
Compare the IMEI on the box, the IMEI inside the phone, and the serial number on the receipt. Identical matches across all three build a clear paper trail. Mismatches are a common trick used to pass off warranty-replaced or refurbished handsets as new-old-stock.
Run built-in diagnostic codes for vintage handsets
Vintage phones include a hidden engineering menu that lets you test nearly every component without installing anything. These codes are gold for buyers because they reveal defects that hide during normal use.
What *#9900# and *#0*# actually do
The code *#0*# opens the Samsung hardware test menu on many Galaxy handsets, with tiles for the display, vibration motor, camera, sensors, and touch response. On other brands it may behave differently or do nothing at all. The code *#9900# on Samsung phones pulls up SysDump, which shows battery status, firmware version, and network parameters, and is most useful for confirming the firmware has not been modified.
On older Nokia and BenQ-Siemens handsets, codes vary by model. Common ones include *#0000# for firmware info, *#7370# for a hard reset prompt, and *#06# for the IMEI. Try several because not every code works on every model.
Brand-specific hidden menus for older phones
Motorola legacy phones respond to *#*#2486#*#* for a battery and signal menu, while some Sony Ericsson phones accept physical button combinations reached by pressing and holding keys during boot. Always search the exact model number along with “secret code” before visiting the seller so you know which codes are safe to run.
What to record from the diagnostic screen
Take a screenshot or a photo with a second phone. Capture the firmware version, the IMEI, and the battery health percentage if shown. These three numbers anchor the rest of your evaluation and prove to the seller what you saw if a dispute comes up later.
Test every core function: screen, buttons, speakers, and camera
Diagnostic codes are useful, but the real test is using the phone as the previous owner did. Spend at least five minutes pressing every key, swiping across the screen, and triggering every sensor you can find.
Screen, touchscreen, and dead zone test
Open the phone app and type every number to confirm the keypad responds across the full surface. For touchscreens, open the dialer and drag your finger slowly along the edges in a square pattern. A working digitizer will register every tap; a failing one will skip or freeze. Forum users repeatedly report dead zones on the right edge as the most common defect on second-hand touchscreens.
Display a pure white image (the camera app pointed at a sheet of paper works fine) and look for stuck or dead pixels. Then switch to a dark image to spot light bleed along the bezel.
Audio: speakers, microphones, and ringer
Play a familiar song at maximum volume to confirm both speakers work and to listen for rattle or distortion. Make a real call to a friend and ask them to rate the microphone quality and the loudness of your voice. Test the ringer in silent mode, vibrate mode, and loud mode, because each uses a different audio pathway.
Cameras, flash, and sensor checks
Take a photo with the rear camera, then with the front camera. Look for haze, scratches on the lens, or color casts that suggest sensor damage. Trigger the flash by switching to video mode and toggling the flashlight. Open the compass or maps app to confirm the GPS sensor locks on within thirty seconds.
Check battery health, charging port, and power accessories
Battery wear is the single most expensive repair on older phones because the original packs are often out of production. Plan for it even if the phone looks great everywhere else.
Battery health indicators on older phones
Apple devices running iOS 11.3 or later show Maximum Capacity in Settings > Battery > Battery Health. Anything under 80 percent means a replacement is coming soon. Android phones rarely expose this number directly, so read the diagnostic screen for voltage and temperature, then watch how fast the percentage drops during a five-minute test call. A healthy pack loses one to two percent; a tired pack loses three or more.
For feature phones and vintage clamshells, check the date stamp on the battery itself and ask when the pack was last replaced. NiMH and early Li-ion cells lose capacity whether you use them or not.
Charging port, cable, and adapter authenticity
Bring your own cable and adapter if you can. Plug in and confirm the charging icon appears, then wait two minutes and confirm the percentage rises. A flaky port may show the icon immediately, then drop in and out as the cable wobbles. Inspect the port under magnification for bent pins, lint, or scorch marks.
Confirm software authenticity and perform a factory reset
The factory reset is your last line of defense against a phone that is locked, modified, or carrying the previous owner’s accounts. It is also the step most buyers forget, which is why I always budget time for it.
How to spot tampered firmware
Cross-check the firmware version displayed in the diagnostic menu against the version posted on the manufacturer’s support page for that exact model. Modified firmware often ships with extra apps, a different boot animation, or a custom About screen. Custom ROMs are not always bad, but you deserve to know what you are buying.
Performing a clean factory reset
Back up anything you want to keep, then trigger the reset from the Settings menu on smart devices, or by entering the brand-specific reset code on feature phones. Confirm the phone boots to the welcome screen in your language and that it asks for the date and time. If it skips those steps, the previous owner may have left a setup profile installed.
Activation lock and account removal
Ask the seller to remove the phone from their iCloud, Google, or carrier account before you buy. For Apple devices, this means turning off Find My iPhone and signing out of iCloud. For Android, the seller must remove the Google account from the Settings > Accounts menu. A locked phone that cannot be unlocked is little more than a Wi-Fi tablet.
Verify carrier compatibility and signal performance
A phone in perfect condition is still useless if it cannot reach your carrier. Confirming network support is a five-minute task that saves days of paperwork.
Insert a SIM and place a test call
Ask the seller to allow a SIM swap so you can test with your own card. Power the phone up, watch for signal bars, and dial your own voicemail to confirm the line connects both ways. If the seller refuses a SIM swap, walk away; that is one of the strongest red flags we will cover next.
Band and network compatibility for vintage phones
Check the supported bands on the manufacturer’s spec sheet and confirm your carrier broadcasts on those frequencies. Many older phones only support 2G or 3G, and several major carriers have already retired those legacy networks. Buying a 2G-only vintage phone today means Wi-Fi calls and tablet data at best, so confirm network support before you commit.
Red flags and questions to ask the seller
Some warning signs go beyond the phone itself and into the seller’s behavior. Trust your gut, but back it up with this short list of specific red flags I watch for.
- Refusing a SIM swap, a test call, or a factory reset demonstration.
- Pressuring you to decide in minutes or meet in a remote location.
- No original box, no receipt, and no working charger offered.
- Two different IMEIs showing up in different menus.
- Missing or replaced screws, mismatched serial numbers, or a missing LCI sticker.
- Stickers covering the model number, IMEI, or FCC label.
- Seller unable or unwilling to remove the previous owner’s account.
Ask the seller directly: how long have you owned it, where did you buy it, has it ever been repaired, and why are you selling it. Honest answers tell you as much as the diagnostics do, especially on collector-grade handsets like BenQ-Siemens models where originality can swing the price by two or three times.
Frequently asked questions about testing used vintage phones
How do I check a second-hand phone before buying?
Run a 10-step inspection: physical review, IMEI check, diagnostic codes, full functional test, battery test, charging test, firmware check, factory reset, SIM test, and seller questions. Spend at least fifteen minutes and use your own cable and SIM if the seller allows.
What does *#9900 do to a phone?
On Samsung phones the *#9900# code opens the SysDump screen, which shows battery status, firmware version, and network parameters. It is the fastest way to confirm firmware integrity before you commit to the purchase.
Is there a way to test a phone before buying?
Yes. Built-in diagnostic codes (such as *#0*#, *#9900#, and *#06#) let you test the screen, sensors, battery, and firmware without installing any apps. Combine them with a hands-on call and a SIM swap for the most accurate test.
What is *# 0 *# used for?
On Samsung handsets the *#0*# sequence opens the hardware test menu with tiles for the display, vibration motor, camera, sensors, and touch response. Most other brands ignore the code, so check the manufacturer’s documentation first.
Are old vintage cell phones worth anything?
Yes. Phones like the Motorola StarTAC, Nokia 3310, original Motorola DynaTAC, and limited BenQ-Siemens models sell for hundreds of dollars in mint condition. Worth depends on originality, working condition, and whether the original box and accessories are present.
Which vintage cell phones are worth money?
Rare variants of the Nokia 8110, Motorola V3 RAZR, BlackBerry 7290, Siemens SL45, and early BenQ-Siemens models like the EF81 command premium prices. Limited production runs, working condition, and complete packaging push the value highest.
Final thoughts on testing a used vintage phone
You now have the same routine I use every time I look at a used vintage phone. Inspect the body, pull the IMEI, run the diagnostic codes, exercise every function, charge on your own cable, factory reset, then test with your own SIM. Spending fifteen minutes on these steps separates a great buy from an expensive paperweight, and it gives you real power if anything goes wrong after the sale. The whole process of testing a used vintage phone before buying it is less about being paranoid and more about being prepared.